
Why Microcement Is Taking Over in Old Nice Buildings
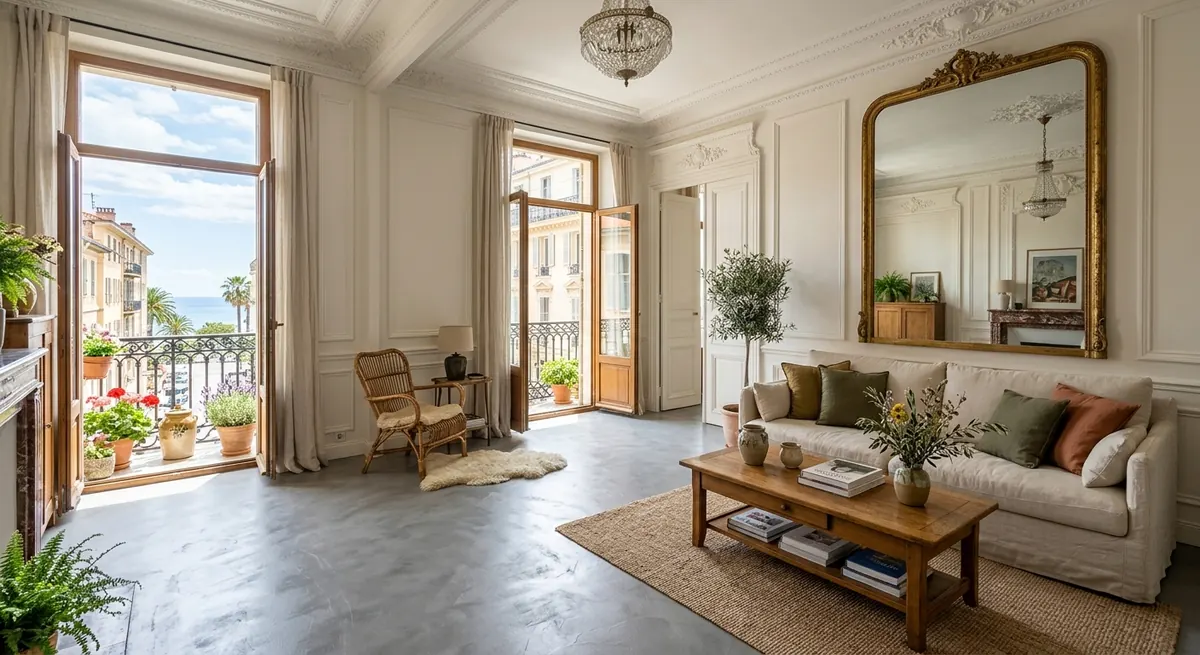
Walk through any building in the Carré d'Or or along Avenue Jean Médecin built before 1960 and you will find the same story on the floors: cracked tomette tiles in the kitchen, a parquet that has cupped near the balcony door, and a bathroom tiled sometime in the 1980s that nobody wants to touch because retiling means ripping out half the plumbing. Microcement solves a problem specific to these buildings — you get a completely seamless, waterproof surface without raising the floor level by more than 4 to 6mm, which matters enormously when you are already dealing with ceiling heights of 2.5m and door frames that were never designed for a buildup of mortar and tile.
I have fitted microcement in a dozen apartments between Vieux Nice and Cimiez over the past few years, and the appeal is almost always the same: owners want the loft-style, monolithic look you see in renovated apartments in Le Marais or Barcelona, but they also need something that survives the specific humidity profile of a flat two streets back from the Promenade des Anglais. Salt air, poor ventilation in older buildings, and bathrooms with no window all push moisture into traditional flooring in ways that microcement, properly waterproofed, simply shrugs off. It is also a favourite for owners doing a seasonal rental in Antibes or Cannes who need a floor that looks sharp in photos and does not show every scratch from suitcase wheels.
Installing Over Existing Tile, Parquet or Concrete
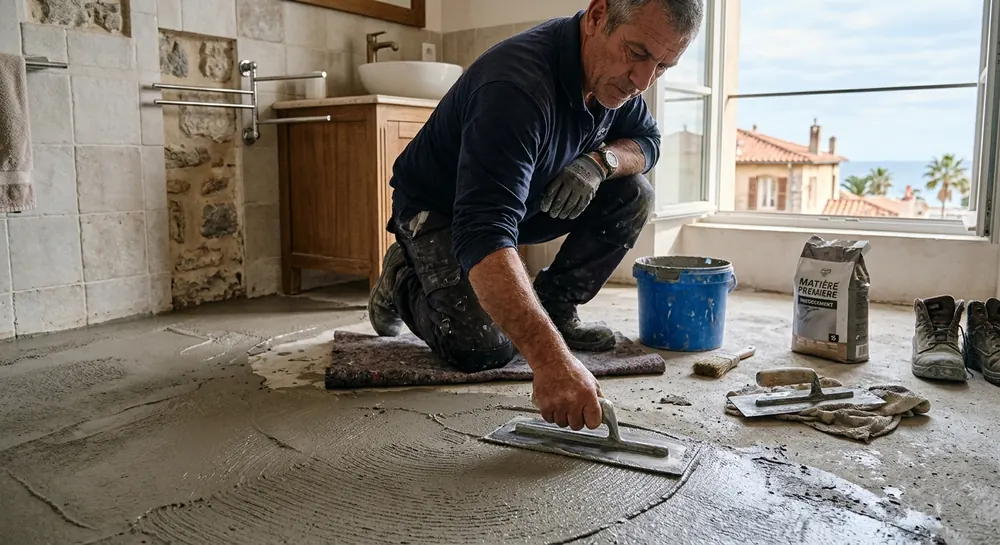
The single biggest misconception I run into on site is that microcement is a magic skin you can trowel straight onto anything. It is not. What you actually need underneath is a sound, stable substrate — and in a lot of Nice apartments, that means dealing with old tomette tiles that are drummy in places, or a parquet that flexes when you walk on it near the window. For tile, we typically grind the surface lightly to kill the shine, fill any missing grout lines with a fibered mortar, and then apply a primer coat (usually an epoxy-based one in humid rooms) before the first microcement pass. For parquet, the wood has to be perfectly dry, screwed down every 20cm to stop movement, and covered with a fibreglass mesh embedded in a levelling compound — skip this step and you will see every joint telegraph through the microcement within a year.
Concrete slabs, common in buildings renovated since the 1970s around Fabron or Saint-Augustin, are the easiest substrate: a light sanding, a crack-isolation membrane over any visible fissures, and you are ready for primer. What nobody tells owners upfront is that thresholds between rooms are where things get tricky in old Nice apartments — thresholds set 8 to 12mm proud of the surrounding floor are routine, and microcement cannot simply taper over that gap without a transition strip or a feather-edge of self-levelling compound first. Budget an extra day of prep work for any apartment with more than two different floor types, which is nearly every apartment I see in buildings dating from the 1930s where a previous owner mixed parquet in the living room with tile in the hallway.
What Microcement Actually Costs in Nice, Cannes and Monaco
Pricing varies more than people expect, and the headline number you see online — often around 70€/m² — rarely survives contact with an actual 65m² apartment near Place Garibaldi. For a straightforward living room and kitchen over a sound concrete slab, expect 90€ to 130€ per m² all-in, including primer, two coats of microcement, and a matte or satin sealer. Bathrooms and wet rooms push that up to 140€ to 190€ per m², because you are adding a liquid waterproofing membrane under the microcement and typically also treating the shower walls to the same height as the floor for a fully sealed, grout-free enclosure — a detail that is become almost standard in renovated apartments I see listed around Cours Saleya and the port.
Monaco and the higher end of Cap d'Antibes pull the average up further, often to 160€-220€/m², partly because installers factor in parking and access costs for buildings with no lift and partly because clients there tend to request pigmented finishes or metallic additives that cost more in material alone. As a rule of thumb for an older Nice apartment of 55-70m², a full microcement floor across living spaces plus one bathroom typically lands between 7 500€ and 13 000€, prep work included. Get at least three quotes and ask each installer to break out substrate preparation separately — this is where lowball quotes quietly disappear once they discover the actual state of the floor under your existing tile.
How Microcement Handles Riviera Humidity Over Time
The waterproofing claim around microcement is genuine, but it depends entirely on the sealer, not the microcement itself. The base material is a cement-based coating roughly 2-3mm thick reinforced with polymers and sometimes fibreglass mesh; on its own it is porous. What actually blocks water is the topcoat — usually a two-component polyurethane sealer applied in two or three passes. In bathrooms and anywhere near a shower, I always push clients toward the higher-build matte sealers rather than the glossy ones, because they resist the micro-scratching from sand and salt residue that comes off feet after a day at the beach in Antibes, and they do not show water spotting the way glossy finishes can after a year of hard water from the Riviera's notoriously calcium-rich supply.
Long-term durability in humid rooms comes down to two things owners often overlook: ventilation and re-sealing. A bathroom with no extractor fan, common in pre-war buildings around Rue de France, will eventually show the sealer breaking down at wall-floor junctions even with a good initial install, simply because condensation sits there for hours after every shower. I recommend re-sealing wet-room microcement every 18 to 24 months — a half-day job costing 150€ to 300€ depending on room size — and it is non-negotiable in apartments without mechanical ventilation. Done this way, I have floors installed six years ago in a rental near the Nice flower market that still look essentially new, with no cracking, no delamination, and no staining despite constant tenant turnover.
Living Through the Install: Timeline and Practical Pitfalls
A realistic timeline for a 60m² apartment is 6 to 9 working days from first grind to final sealer cure, though the apartment is not really usable during that window because of drying times between coats — typically 12 to 24 hours each, longer in winter when humidity in coastal Nice runs high even indoors. Owners doing this during a tenant changeover or before a seasonal let in Cannes need to plan at least two full weeks buffer, because the final cure for full foot traffic takes 5 to 7 days after the last sealer coat, and heavy furniture or rugs should wait a full three weeks to avoid leaving permanent marks in the still-curing film.
The pitfall I see most often is owners choosing an installer based on price alone without asking to see a finished job that is at least a year old — fresh microcement always looks flawless, but the real test is how it ages against humidity, foot traffic, and whatever furniture gets dragged across it. Ask specifically whether the installer has worked in older Nice buildings with uneven slabs and shifting door thresholds, not just new-build apartments where the substrate is already perfectly flat. And always get the waterproofing membrane detail in writing for wet rooms — it should wrap up the wall at least 10cm behind any future shower glass or bath, because that single detail is what separates a floor that handles twenty years of Riviera humidity from one that needs redoing in five.
Frequently asked questions
Yes, in most cases, as long as the tiles are solidly bonded with no hollow or drummy sections. The surface needs a light mechanical sanding to remove any wax or sealant, the grout lines filled flush, and a bonding primer before the first microcement coat. If more than 15-20% of tiles sound hollow when tapped, it is more reliable to remove and re-screed that area first rather than risk future cracking.
It can be, but only with the right system: a liquid waterproofing membrane applied under the microcement, wrapped up the walls behind any shower or bath, and a polyurethane sealer on top, re-applied every 18 to 24 months. Without an extractor fan running during and after showers, even a well-installed system will show wear faster at the wall-floor joints, so improving ventilation should be part of the same renovation.
Microcement generally runs 90€ to 190€ per m² depending on the room, compared to 60€-100€ per m² for mid-range retiling with new tiles and labour. Microcement costs more upfront but avoids demolition, raises the floor level only a few millimetres, and gives a seamless look that is particularly well suited to small or older apartments where thresholds and ceiling heights are already tight.